ovniparis.fr
Accueil
/
Nos photos
/
Ovniparis
/
Soirée-190702-Daniel-Robin
/
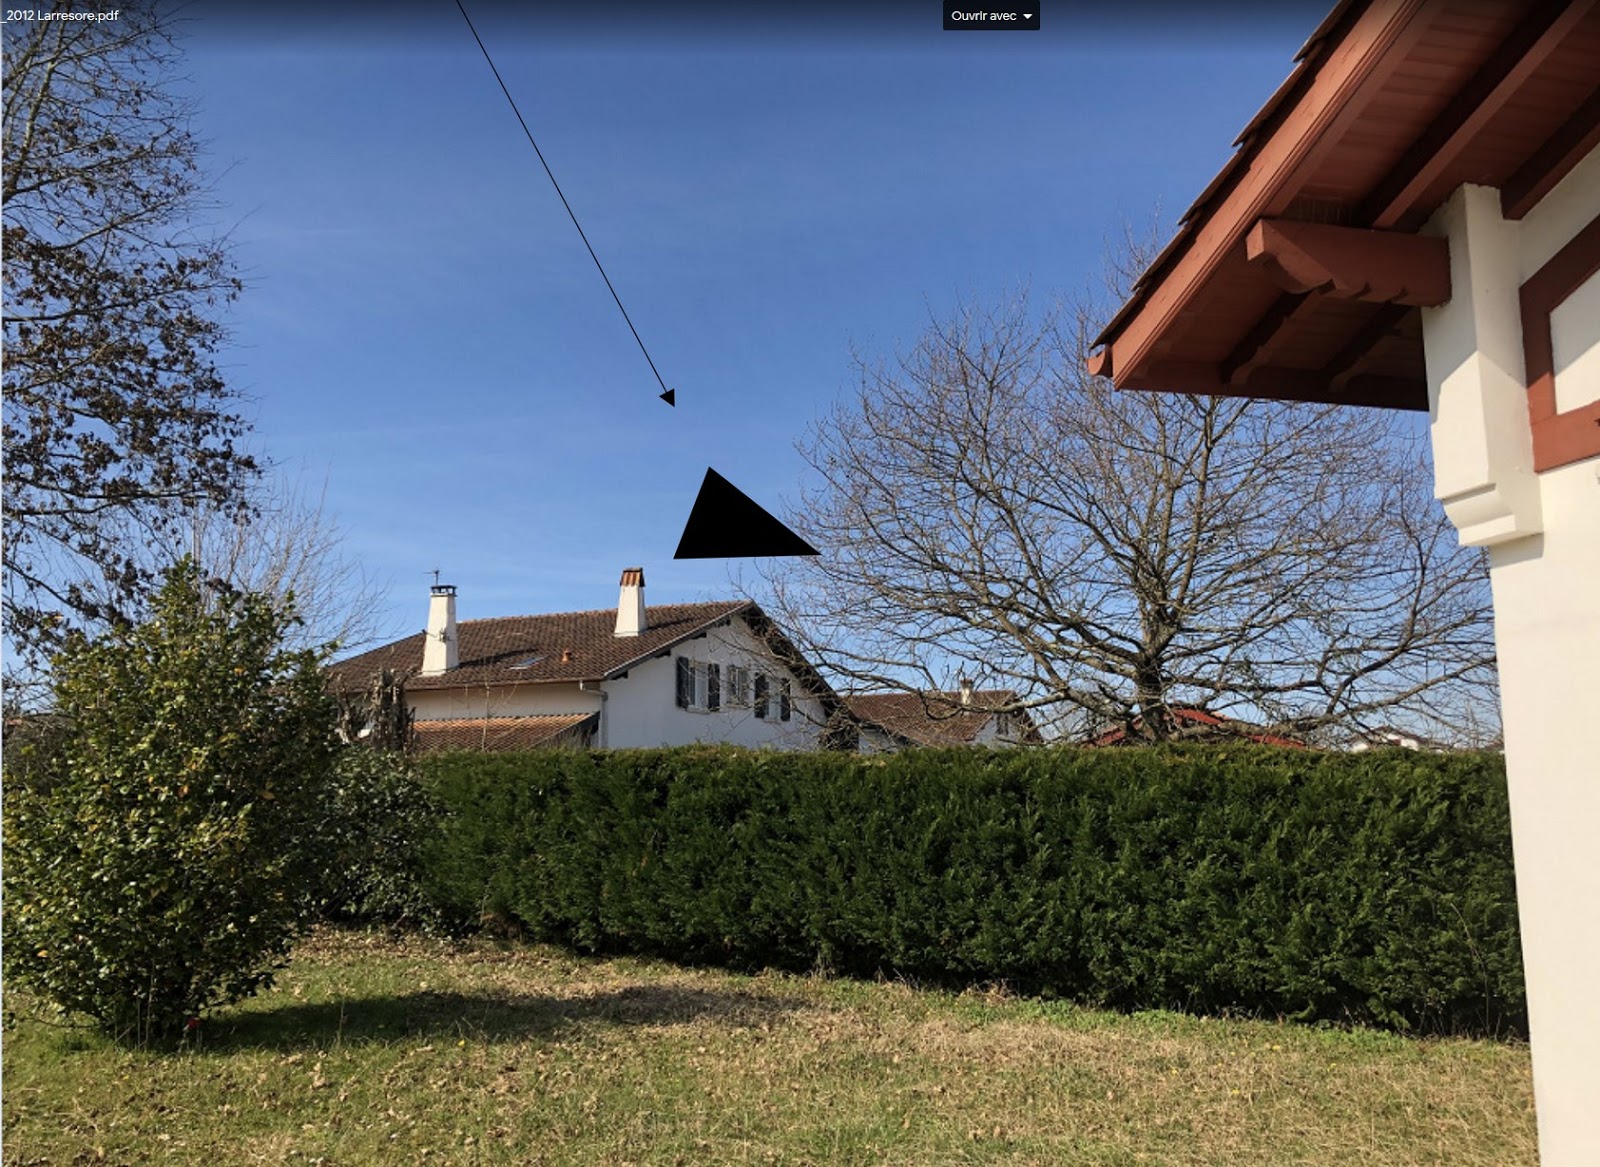
IMAGE 4 Larresore+triangle+noir
IMAGE 4 Larresore+triangle+noir
Retour